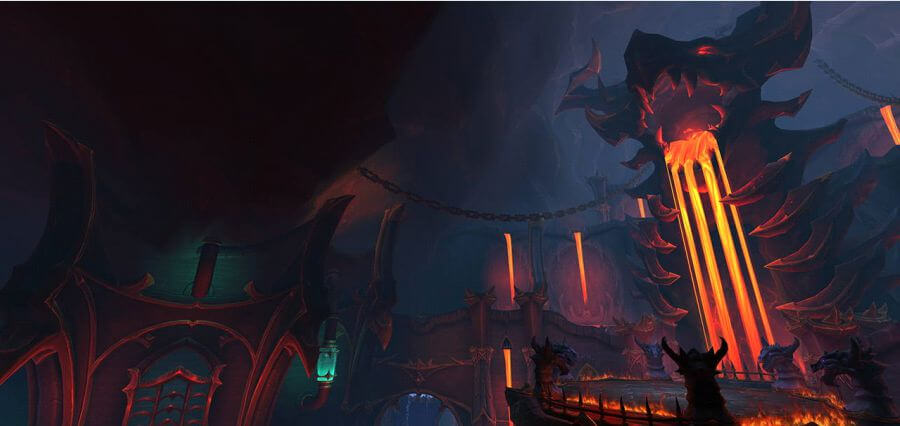
Welcome to the most concise guide on the Web covering the main aspects of Aberrus, the Shadowed Crucible! The new WoW: Dragonflight raid doesn’t fail to offer a fair amount of engrossing activities, but demands high skill and perseverance to reach its most rewarding heights.
It’s only natural to feel tired of grinding for the desired gear, achievements, or mounts. If you do, you’ve come to the right place, as WowVendor Express is here for you at full speed! WowVendor professionals offer top-tier services ranging from the Aberrus carry to achievement boosts, power leveling, and many more! Find yourself craving an extra life to get everything done in these busy times. With WowVendor, you’ve just found one.
Now, without any delay, let’s jump into the raid itself!
LORE AND BACKGROUND
If you’re already familiar with Neltharion’s vile schemes, the Shadowed Crucible is but another instance of his corrupted nature taking its toll. Like Blackwing Descent from Cataclysm or Neltharion’s Lair from Legion, Aberrus sheds light on Deathwing’s relentless search for power. And the heroes of Azeroth have to bring the curtain down on it in the same old way — fighting!
BOSS ENCOUNTERS
There are nine Aberrus boss fights in total. Depending on the encounter and the raid difficulty, you may hope to get the gear with item levels 402 through 457. No surprise, the juiciest loot won’t fall from the sky, so be prepared to go the extra mile to get it! Just be sure not to stand in the fire… Jokes aside, here’s the short review for each Aberrus encounter at Normal difficulty!
- Kazzara, the Hellforged — a classic warm-up fight with lots of AoEs weighing upon you more and more as the fight progresses. What else to expect from a huge armored dragon?
- Amalgamation Chamber — the age-old tactic for splitting the dual boss apart was established back in 2006. That year, the players first tasted the fight with the Twin Emperors in the legendary Temple of Ahn’Qiraj.
Blizzard did not hesitate to revisit this approach many times throughout WoW’s history, including the classic Naxxramas raid released only five months after the Qiraji twins were slain. And just like Naxxramas’ Feugen and Stalagg serve as a preface to abominable Thaddius, the Aberrus Amalgamation Duo will force you to split your raid group in two and brace yourself for a single-boss battle in the second phase. The boss fights at hand are fast-paced, making you swap sides and change positions quickly in the course of action. Flame game!
- Forgotten Experiments — funnily enough, the Temple of Ahn’Qiraj we mentioned earlier had the triple boss as well — the infamous Bug Trio. Yet, in contrast to the present encounter, that trio could be disposed of in any desired order.
The Forgotten Experiments are pretty much a piece of cake. The fight comprised of slightly differentiated encounters has nothing remarkable to speak of, except maybe for an amusing bouncy sphere mechanic during the last fight. Don’t let the ball touch the boss!
- Rashok, the Elder — no, this is not a quadruple boss as you might have expected! Rashok is a fairly distinguished — and single — specimen. You have to prevent his energy bar from reaching 100%; otherwise, you’d be wiped. Kiting him in the center of the room as the numbers grow beyond 90% should do the job. Be sure to do some good damage after that, prevent the flame vortexes from overlapping, and you’re good to go!
- Assault of the Zaqali — the key to this one lies in preventing adds from damaging the arena’s entrance. Split your group in two to protect the side platforms, focus the adds (mainly those with lava shields), drop some boulders on the climbing ones, and Bob’s your uncle. Whew, still holding up?..
- Zskarn — during this boss fight, the general motto for the entire Aberrus raid — “don’t stand in the fire!” — reaches a whole new level. Firstly, position Zskarn on the edge of the arena. Secondly, slay the summoned golems as quickly as possible and salvage them to turn the flame traps off. And lastly… don’t stand in the fire!
- Magmorax — here we face the second boss in this raid that shouldn’t be allowed to fill its energy bar to its fullest. However, this encounter is a pure race against time and a test of your DPS, as you can’t drop Magmorax’s energy in any way. But don’t you worry, since for the rest it’s child’s play, we promise! …are you ready for a hard time now?
- Echo of Neltharion — the hero of the occasion himself. Keep calm and try to carefully wrap your head around the positioning strategy for this boss. He may not come easy at your first tries, as the developers have clearly put some good thought into him.

- Scalecommander Sarkareth — the proud leader of the Ebon Scales and the reverent follower of Neltharion the Earth-Warder, Sarkareth is far from a mere trifle. This fight, as befits a final raid encounter, is a true spectacle and a thorough test of your team coordination.

Overall, Aberrus keeps the bar of a well-crafted mini-adventure with its bona fide visual design (we’ll pass on the ending cinematic) and a fair share of action-packed encounters. The other tidbits, such as fresh achievements and splendid class tier sets, add to its reasonably solid foundation.


